
Estimated read time: 13 – 15 minutes
Introduction
If you’ve ever run your fingers through your Ragdoll’s beautiful, silky coat and hit a stubborn knot, you know that sinking feeling. Is this the beginning of a mat? How bad is it? What do I do now? Trust me I’ve been there more times than I’d like to admit with my boy Milo.
Ragdolls are one of the most gorgeous cat breeds on the planet, but that plush, semi long coat comes with a real responsibility, regular, attentive grooming. Ragdoll cat matting is one of the most common challenges owners face, and it’s not just a cosmetic issue. Left untreated, mats can pull on the skin, trap moisture and bacteria, and become genuinely painful for your cat. The good news? With the right approach, most matting is completely preventable and when it does happen, there are gentle, safe ways to tackle it at home.
In this guide, I’m going to walk you through everything you need to know. why Ragdolls are prone to tangling in certain spots, how to build a grooming routine that keeps mats from forming, what tools actually work, and how to safely remove tangles when they do appear. Whether you’re a new Ragdoll owner or you’ve had your fluffy companion for years, there’s something here for you.
Why Do Ragdoll Cats Get Matted Fur?
Before you can tackle the problem, it helps to understand why it happens. Ragdolls have a unique coat semi long, silky, and single layered (meaning no dense undercoat like you’d find on a Maine Coon or Norwegian Forest Cat). That single layer structure is actually one reason many people assume Ragdolls don’t mat easily. But that’s a misconception.
Because Ragdoll fur is so soft and fine, it tends to tangle when loose hairs intertwine with each other and without a coarser undercoat to “anchor” them, those tangles can tighten into mats faster than you’d expect. Several factors make this worse.
- High friction zones. The belly, armpits, neck ruff, behind the ears, and the “pantaloons” (the fluffy rear leg fur) are all areas where your cat’s limbs move constantly, creating the kind of rubbing that encourages tangling.
- Seasonal shedding. During spring and fall, Ragdolls shed more heavily. Loose dead hairs that aren’t brushed out regularly are the number one culprit behind mat formation.
- Collars. If your Ragdoll wears a collar, the constant turning and tugging against the neck fur is a guaranteed recipe for matting in that area. It’s something many owners don’t realize until they check under the collar and find a solid clump.
- Weight. Overweight cats struggle to reach certain areas particularly along the spine above the tail and the belly. If a Ragdoll can’t groom those spots themselves, mats form quickly.
- Dirt, moisture, and debris. Cats that spend time on dusty floors, or who get damp and aren’t fully dried, are far more prone to mats. Wet fur that clumps together and dries in a twisted position can set into a mat surprisingly quickly.
- Aging. Senior cats groom themselves less effectively due to reduced flexibility or discomfort, making regular owner led grooming even more important as they age.
When I first brought Milo home as a kitten, I honestly thought his short sessions of self grooming were enough. It wasn’t until I found a small but firmly set mat under his left “armpit” at about eight months old that I realized I needed to step up my routine dramatically.
The Spots You Must Check Every Single Week
Knowing where to look is half the battle when it comes to keeping a Ragdoll mat free. These are the areas that deserve your closest attention every single grooming session.
Under the Armpits and Forelegs
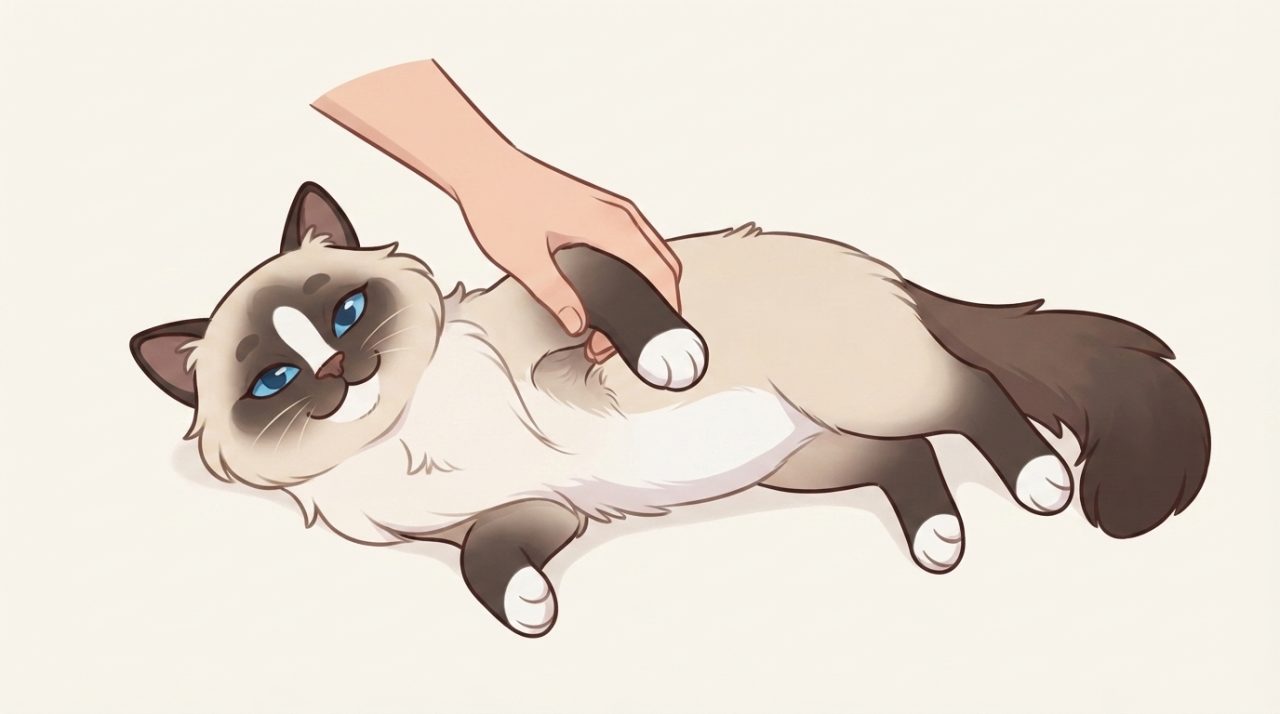
This is almost universally the most common matting spot for Ragdolls. Every time your cat walks, jumps, or stretches, the skin under the forelegs rubs against the chest and belly fur. Over time, that friction creates tight, stubborn knots. Always gently lift your cat’s front legs to inspect this area.
The Neck Ruff
That magnificent collar of fur is one of the most beautiful parts of a Ragdoll and one of the trickiest to keep tangle free, especially if your cat wears a collar. Run your fingers all the way around the neck ruff, including at the back of the neck where collars typically sit.
The Belly
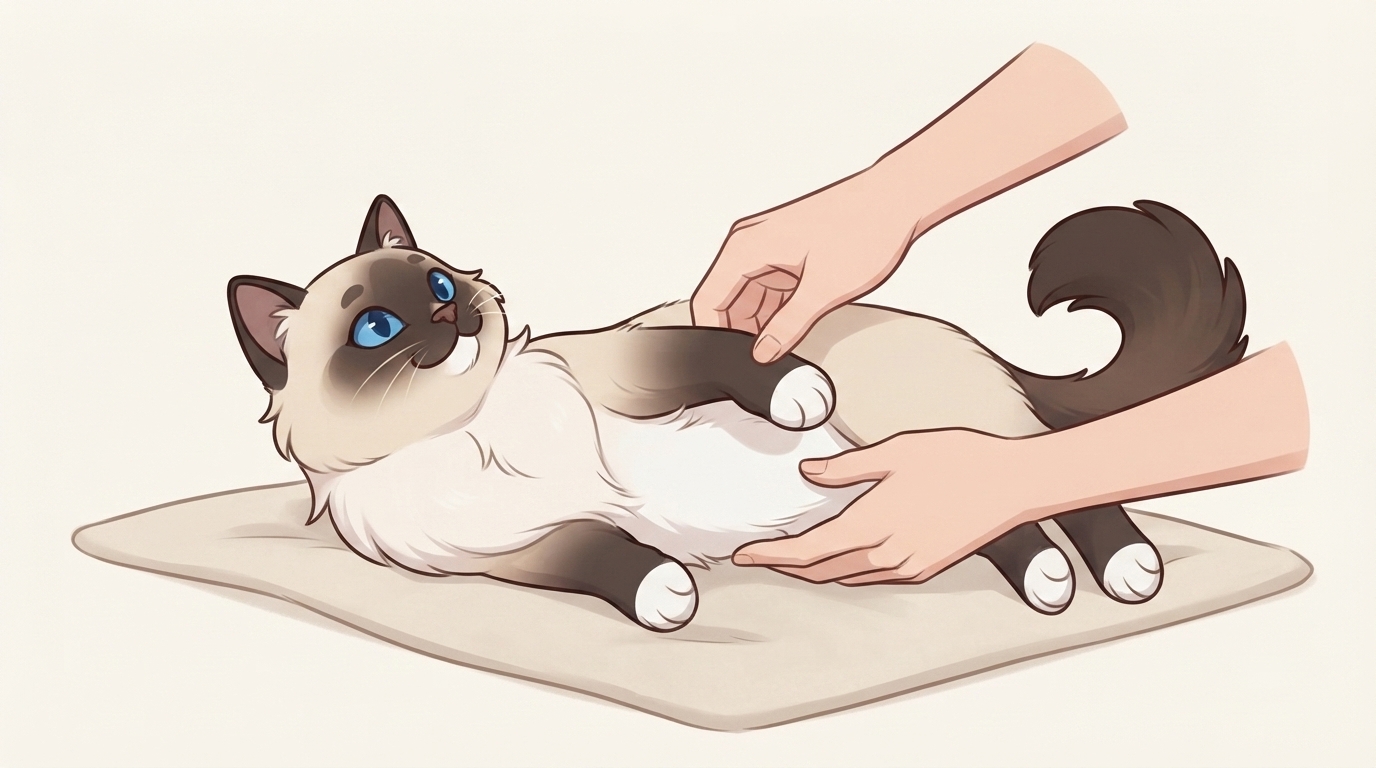
Many Ragdolls are a little belly sensitive, so getting them comfortable with belly brushing takes time and patience. But if you skip it, you’ll likely find mats building up here particularly near the groin where the rear legs meet the torso.
Behind the Ears
A small but common spot. Tangles here tend to be caught early because they’re easy to see, but they can sneak up on you during heavy shedding periods.
The Pantaloons (Rear Legs)
That fluffy, voluminous fur on the back of the hind legs looks spectacular but loves to mat. The friction from your cat sitting, walking, and using the litter box makes this a high risk area.
Along the Spine (Especially Above the Tail)
For Ragdolls who carry a bit of extra weight, this area is hard to self groom. Regular checks here are essential.
I keep a mental checklist when I groom Milo. I don’t move on until I’ve run my fingers through each of these zones. It takes maybe an extra two minutes, but it’s saved me from discovering a painful, entrenched mat on more than one occasion.
Building a Grooming Routine That Prevents Matting
Prevention really is the best medicine when it comes to Ragdoll cat matting. A consistent grooming routine does more than any single detangling session ever could. Here’s how to build one that works:
How Often Should You Brush a Ragdoll?
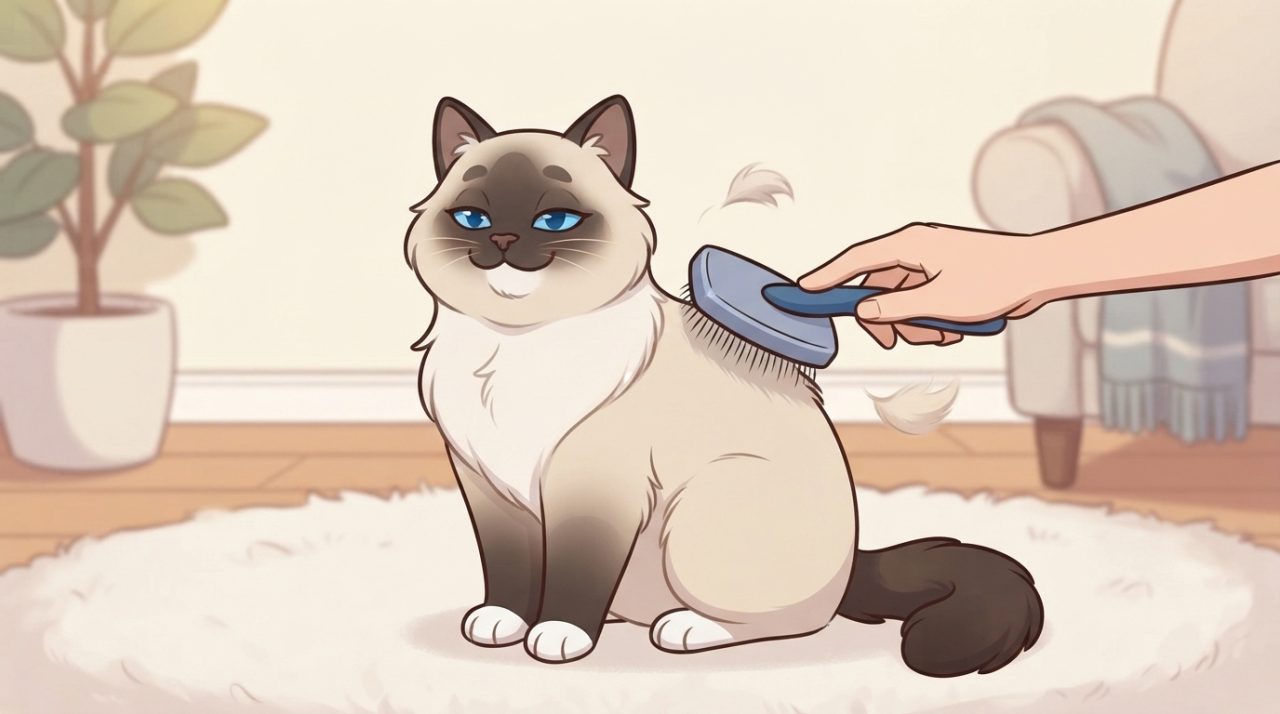
For most Ragdolls in a normal (non shedding) period, brushing at least 2–3 times per week is the baseline. During spring and fall shedding seasons, that goes up to daily brushing to keep up with the extra loose hair coming out of the coat. Each session doesn’t need to be long even 5–10 minutes of focused brushing does an excellent job of keeping the coat clear.
The Right Technique Matters More Than You Think
One of the most common mistakes Ragdoll owners make is surface level brushing gliding the brush over the top of the coat without really getting down to the skin. This removes very little loose hair and gives you a false sense of security.
The technique groomers recommend is called line brushing: part a one inch section of fur and brush from root to tip before moving to the next section. Yes, it takes longer. But it removes dramatically more loose hair and is the only way to catch forming mats before they tighten up.
Here’s a simple step by step routine that works well for Milo.
- Finger check first – Before any tool touches the coat, run your fingers through it. Part the fur down to the skin and look for redness, small tangles, or early mats.
- Wide tooth comb – Start with a stainless steel wide tooth comb to gently work through the whole coat, section by section, from head to tail.
- Slicker brush – Follow up with a slicker brush to lift and separate the fur and catch anything the comb missed.
- Fine tooth comb – Finish with a finer comb, paying extra attention to the high risk zones mentioned above.
- Reward generously – Treats at the end (and sometimes during) make your cat associate grooming with something positive.
Starting this routine when your Ragdoll is a kitten means they grow up expecting and tolerating it. But even adult cats who weren’t groomed early can be gradually trained, it just takes more patience and shorter initial sessions.

The Best Tools for a Ragdoll’s Coat
Using the right tools makes an enormous difference. Here’s a breakdown of what you actually need no need for an overcrowded drawer full of gadgets:
Tool | What It’s For | Notes |
Stainless steel wide tooth comb | Primary detangling – getting down to the skin | The most essential tool for any Ragdoll owner |
Slicker brush | Removing loose hair – finishing the coat | Look for coated tips to protect the skin |
Dematting comb | Gently cutting through small mats | Has curved, bladed teeth safer than scissors |
Detangling spray (cat safe) | Loosening minor tangles before brushing | Apply a little before combing through problem areas |
Blunt tip grooming scissors | Last resort for mats that won’t budge | Use with extreme caution never point toward skin |
What I’d skip – coarse undercoat rakes (Ragdolls don’t have a thick undercoat and rakes can scratch the skin), and human hair products of any kind (the pH of human skin is very different from a cat’s, and many ingredients are toxic to cats).
How to Gently Remove an Existing Mat
So you’ve found a mat. Don’t panic and please don’t grab scissors and start snipping. Cat skin is surprisingly thin and loose, and it’s very easy to accidentally pick up a fold of skin while trying to cut a mat. That’s how serious injuries happen. Here’s the right approach.
Step 1: Assess the Mat
Is it a small, early stage tangle loose and pliable? Or is it a hard, tight clump sitting right against the skin? Small, soft tangles can usually be handled at home. Hard, skin tight mats especially in sensitive areas are better left to a professional groomer or a vet who can shave them safely.
Step 2: Never Wet the Mat
It seems counterintuitive, but do not wet a mat before trying to remove it. Water causes the fur fibers to swell and the mat to tighten further, making removal much harder and more painful.
Step 3: Apply a Cat Safe Detangling Spray
Spray a small amount of cat safe detangling product onto the mat and the surrounding fur. Allow it to absorb for a minute or two. This helps loosen the fibers and makes the next steps significantly more comfortable for your cat.
Step 4: Work from the Edges Inward
Never start working at the base of the mat closest to the skin. Instead, begin at the outermost tip of the mat and gently tease apart individual hairs with your fingers. Work slowly inward toward the skin. Think of it as unraveling a sweater rather than ripping it apart.
Step 5: Use a Dematting Comb
Once you’ve loosened the outer layer with your fingers, use a dematting comb to work through the mat more systematically. These combs have curved, slightly bladed inner edges that cut through tangled fur gently without pulling on the skin the way a regular comb would. Always hold the base of the mat (between the mat and the skin) with your other hand to prevent pulling on the skin as you work.
Step 6: Know When to Stop
If your cat is showing signs of stress ears flat, tail lashing, growling, trying to get away stop. A stressed cat is a cat that might scratch or bite, and forcing the issue makes future grooming sessions much harder. Split the job across multiple short sessions over several days if needed.
When to See a Professional
If the mat is:
- Tight against the skin with no gap between the mat and the skin surface
- Covering a large area
- Near a sensitive area like the groin, armpit, or face
- Accompanied by redness, sores, or an odor underneath
then take your Ragdoll to a professional groomer or your vet. Attempting to remove severe mats at home risks cuts, bruising, and significant stress. A groomer can often clip the mat out safely in seconds; a vet can sedate if necessary for a particularly severe case.
Diet, Weight, and Coat Health
One thing most grooming guides skip over is the connection between what your Ragdoll eats and how prone their coat is to matting. A well nourished coat is more resilient, softer, and actually easier to brush through.
Omega Fatty Acids
Many experienced Ragdoll owners swear by adding a small amount of salmon oil to their cat’s daily food. Omega 3 and omega 6 fatty acids support skin health and coat texture, producing a softer, more manageable fur that’s less prone to tangling. You can find cat specific fish oil supplements at most pet stores in both the US and UK. Always choose a product formulated for cats and follow the label dosage.
Weight Management
As mentioned earlier, overweight Ragdolls struggle to groom certain areas of their own body. Since Ragdolls are naturally large cats and it’s easy to overfeed them especially when they look at you with those gorgeous blue eyes it’s worth asking your vet about an appropriate weight range at your next checkup. Keeping your Ragdoll at a healthy weight isn’t just good for their joints; it directly reduces their risk of developing problem mats in hard to reach spots.
Hydration
Good hydration supports healthy skin, which in turn affects coat quality. If your Ragdoll is a reluctant water drinker, a cat water fountain can encourage them to drink more throughout the day.
I noticed a real difference in Milo’s coat when I started adding a small amount of fish oil to his wet food a few years ago. His fur felt noticeably softer within a few weeks, and I found myself needing to work through far fewer tangles at each grooming session.
Frequently Asked Questions About Ragdoll Cat Matting
My Ragdoll has never been brushed and now has several mats. Where do I start?
Start with the smallest, loosest mats first to build your confidence and get your cat comfortable with the process. Use a cat safe detangling spray and work gently from the outside of the mat inward. If mats are numerous or tightly packed against the skin, book a session with a professional groomer. Don’t try to tackle everything in one sitting spread sessions out over several days. Once the existing mats are gone, commit to a regular brushing schedule to prevent them from returning.
Can I use coconut oil or cornstarch to help remove mats?
Some owners use a tiny amount of cornstarch worked into the base of a mat to help loosen the fibers before combing. It can work for minor tangles. Coconut oil is sometimes suggested, but it can leave the coat oily and actually attract more dirt which contributes to future matting. A purpose made cat detangling spray is a safer, more reliable option.
How do I get my Ragdoll to tolerate brushing?
Start with very short sessions, even just 30 seconds with plenty of treats and praise. Use a soft tool initially, like a grooming glove, so the sensation is gentle and familiar. Gradually work up to longer sessions and more thorough tools over several weeks. Never force the session or hold your cat down; this creates a negative association that makes future sessions harder. Patience pays off enormously here.
Should I shave my Ragdoll to prevent matting?
Shaving is generally not recommended for Ragdolls unless mats are severe and no other option exists. Their coat provides natural insulation against both heat and cold, and shaving can disrupt that balance, lead to sunburn, and result in uneven coat regrowth. If matting is severe enough to consider shaving, consult your vet or a professional groomer first.
How do I know if a mat is hurting my cat?
Signs that a mat is causing discomfort include flinching or pulling away when you touch it, over grooming or chewing at the area, redness or sore looking skin underneath the mat, or uncharacteristic grumpiness when touched in that area. A mat that pulls visibly on the skin when you lift it is almost certainly causing discomfort and should be addressed promptly by a professional if it’s severe.
My Ragdoll hates having their belly brushed. Any tips?
Many Ragdolls are belly sensitive, it’s a vulnerable area and some cats simply never love having it touched. Try grooming the belly when your cat is very relaxed, perhaps just after they’ve woken up from a nap and are in a sleepy, docile state. Use a very light touch and keep sessions extremely brief (just a few strokes at a time). Over weeks of patience, most cats gradually accept belly grooming as a normal part of life.
What’s the difference between a dematting comb and a regular comb?
A regular comb has uniform teeth designed to glide through already tangle free fur. A dematting comb has curved or slightly bladed inner edges that can cut through matted fibers gently without requiring you to tug the whole mat through the teeth. For any mat more than a minor tangle, a dematting comb is far more comfortable for your cat than trying to force a regular comb through it.
A Quick Note Before You Leave, From a Fellow Ragdoll Mama
Keeping your Ragdoll’s coat mat free isn’t about doing anything dramatic, it’s about consistency. A few minutes of focused brushing several times a week, a finger check of the high risk zones, the right tools, and a good diet all add up to a coat that stays soft, healthy, and beautiful.
Milo and I have our grooming sessions down to a comfortable routine now. He’s not always enthusiastic (the belly area is still a work in progress), but he tolerates it well, and I’ve learned to read his signals. When he’s had enough, we stop. When he settles in, we keep going. It’s become one of our quiet bonding moments even if he does occasionally give me a look of profound dignity when I find a tangle he wasn’t expecting.
The key takeaway? Don’t wait until a mat forms. Prevention is so much kinder to your cat and so much easier for you than removal. But when mats do happen, take your time, be gentle, and know when to call in a professional. Your Ragdoll will thank you for it.
Have you struggled with matting on your Ragdoll? Drop a comment below and share what’s worked for you I’d love to hear from fellow Ragdoll owners!
Shirley E. Butler is a Ragdoll cat enthusiast, editor, and the proud owner of Milo, her blue eyed male Ragdoll.
